Detailed Guide to Migrating from Universal Analytics (UA) to Google Analytics 4 (GA4)
Migrating from Universal Analytics (UA) to Google Analytics 4 (GA4) requires setting up a new GA4 property and configuring it to match your existing UA setup. This guide will walk you through the process step by step.
Create a new GA4 property
a. Log in to your Google Analytics account.
b. Go to the "Admin" section (gear icon in the bottom left corner).
c. In the "Account" column, select the desired account for migration.
d. In the "Property" column, click "Create Property."
e. Choose "Google Analytics 4" as the property type and fill in the required information, including property name, reporting time zone, and currency.
f. Click "Create."

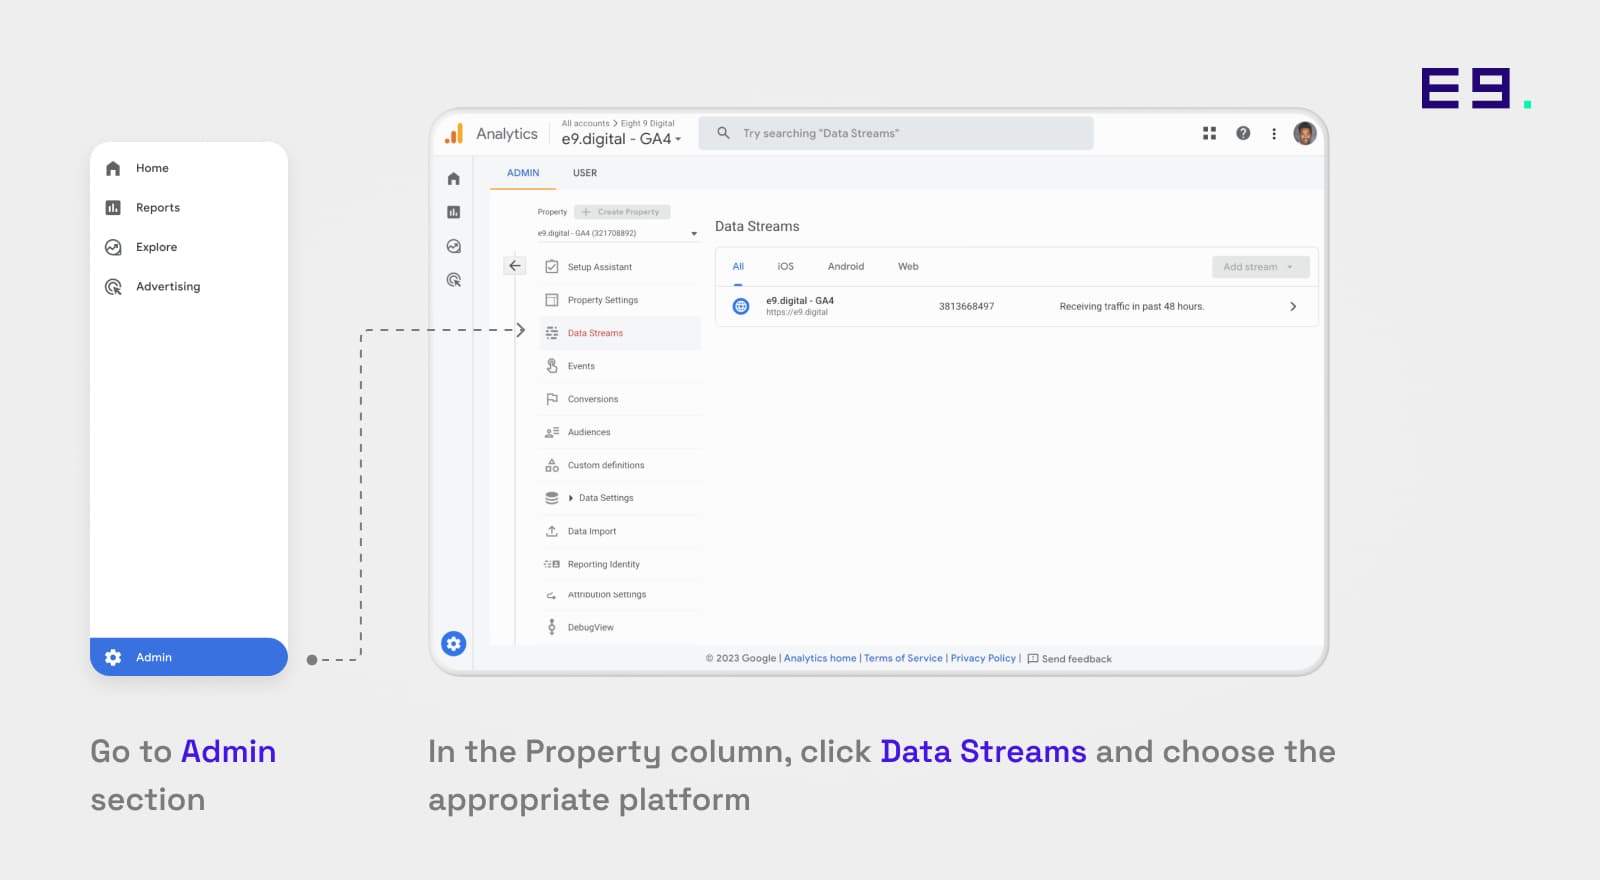
Set up data streams
a. In your new GA4 property, go to the "Admin" section.
b. In the "Property" column, click "Data Streams."
c. Choose the appropriate platform (Web, Android, or iOS) and provide the required details, such as website URL or app package name.
d. Once the data stream is created, you'll receive a new tracking code (for web) or Firebase integration instructions (for mobile apps).
e. Implement the tracking code or Firebase integration on your website or app, alongside your existing UA tracking code. This will allow you to collect data in both properties simultaneously for comparison.
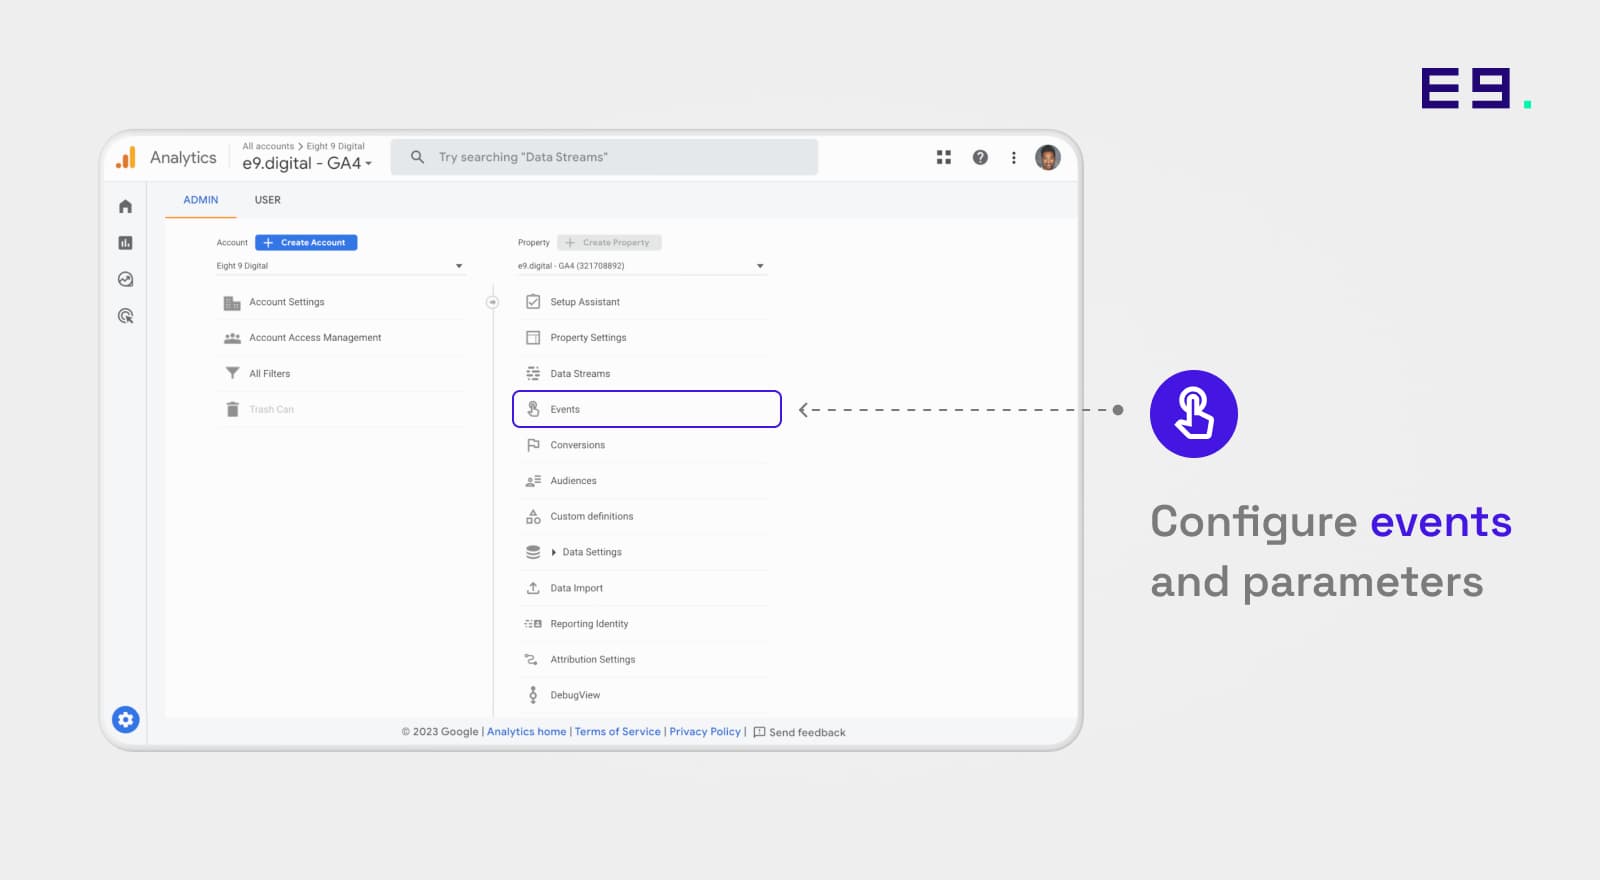
Configure events and parameters
a. In your GA4 property, navigate to "Events" under the "Configure" tab.
b. GA4 automatically tracks several events (e.g., page_view, scroll, click, etc.). Review these automatic events and determine if you need additional custom events to match your UA events and goals.
c. To create custom events, use the GA4 "Event Builder" or "Modify Event" features. You can also set up custom event parameters to track additional event-related data.
d. If you're using Google Tag Manager, update your tags and triggers to send events to your new GA4 property.
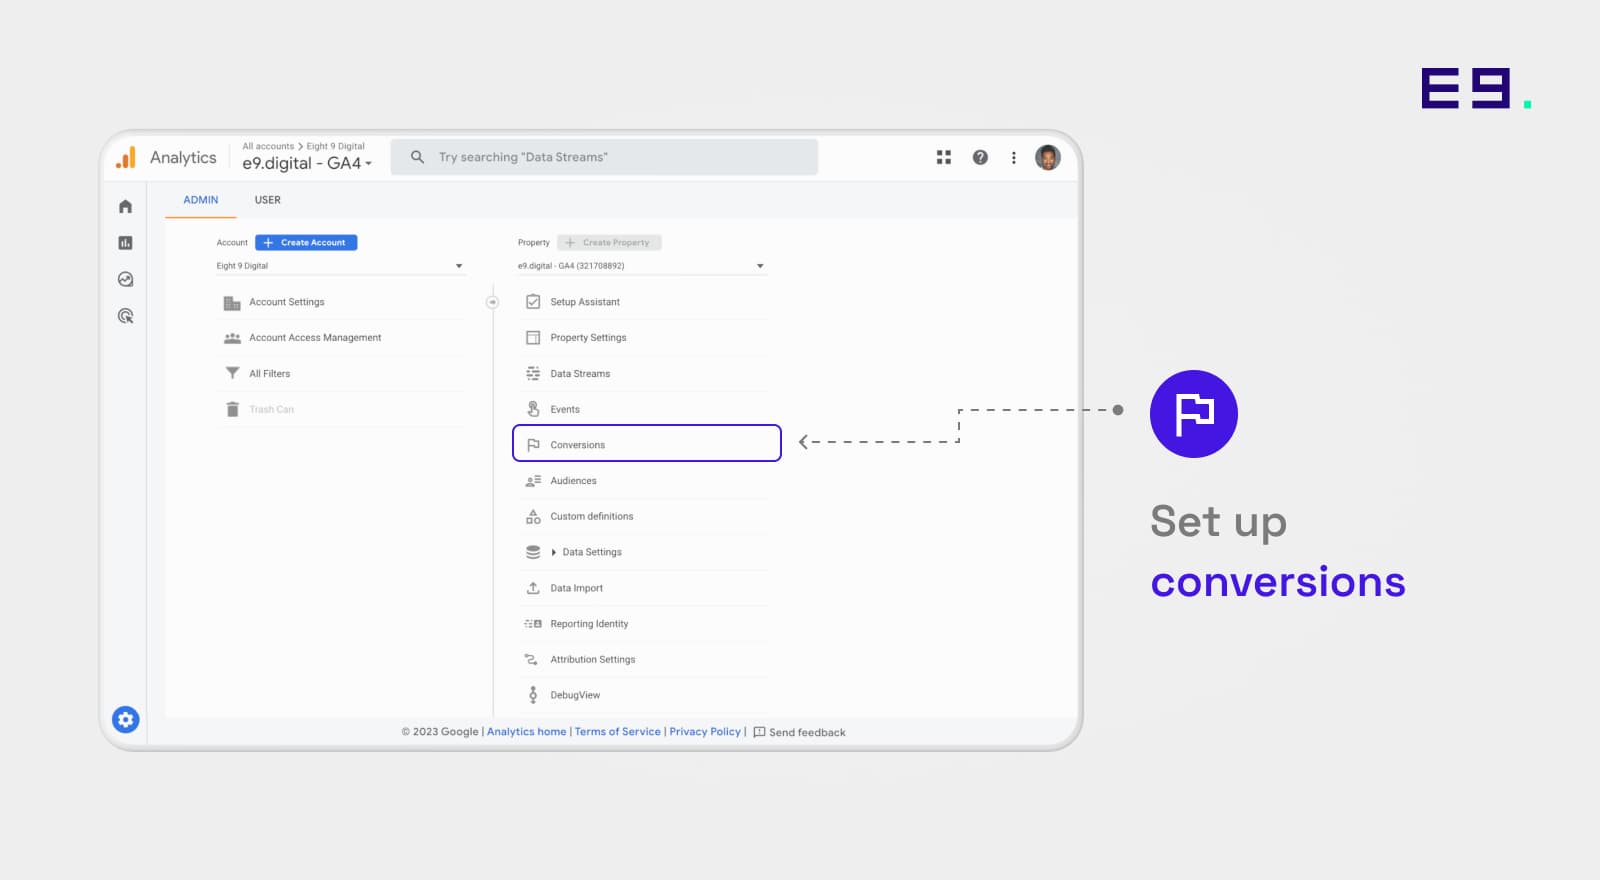
Set up conversions
a. In your GA4 property, go to "Conversions" under the "Configure" tab.
b. Identify important events that you'd like to track as conversions (e.g., form submissions, purchases, etc.).
c. Mark these events as conversions by clicking the star icon next to the event name.
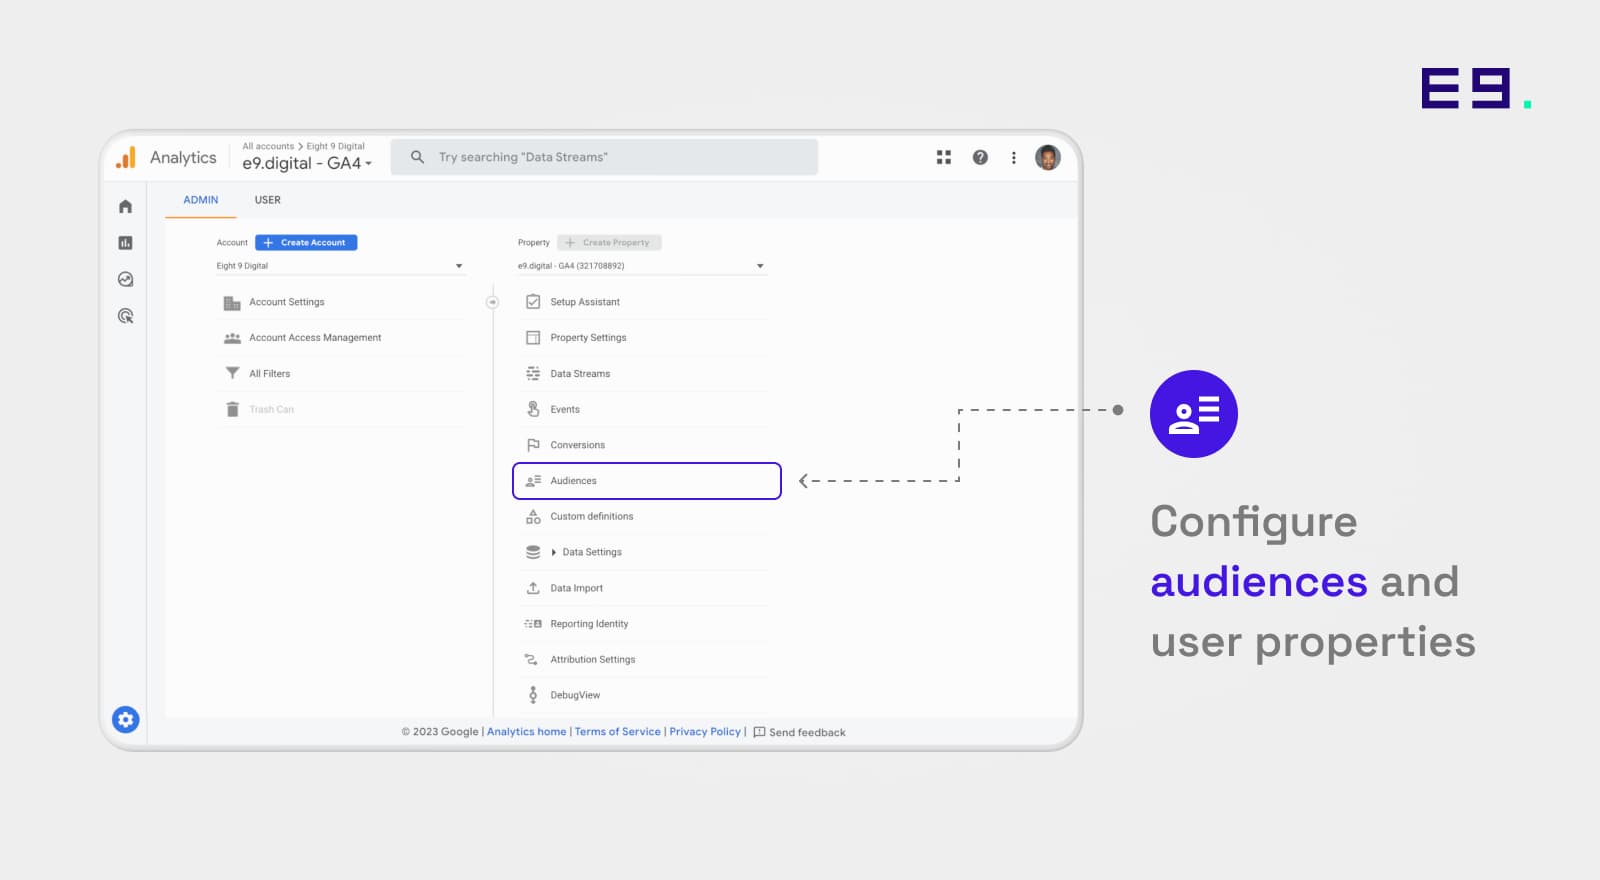
Configure audiences and user properties
a. In your GA4 property, go to "Audiences" under the "Configure" tab.
b. Create new audiences or modify existing ones to match your UA segments. GA4 allows for more complex audience definitions, including combining multiple conditions and sequences.
c. Go to "User Properties" under the "Configure" tab to create or modify user properties as needed. These properties can help you track user-specific data, such as subscription status or user preferences.
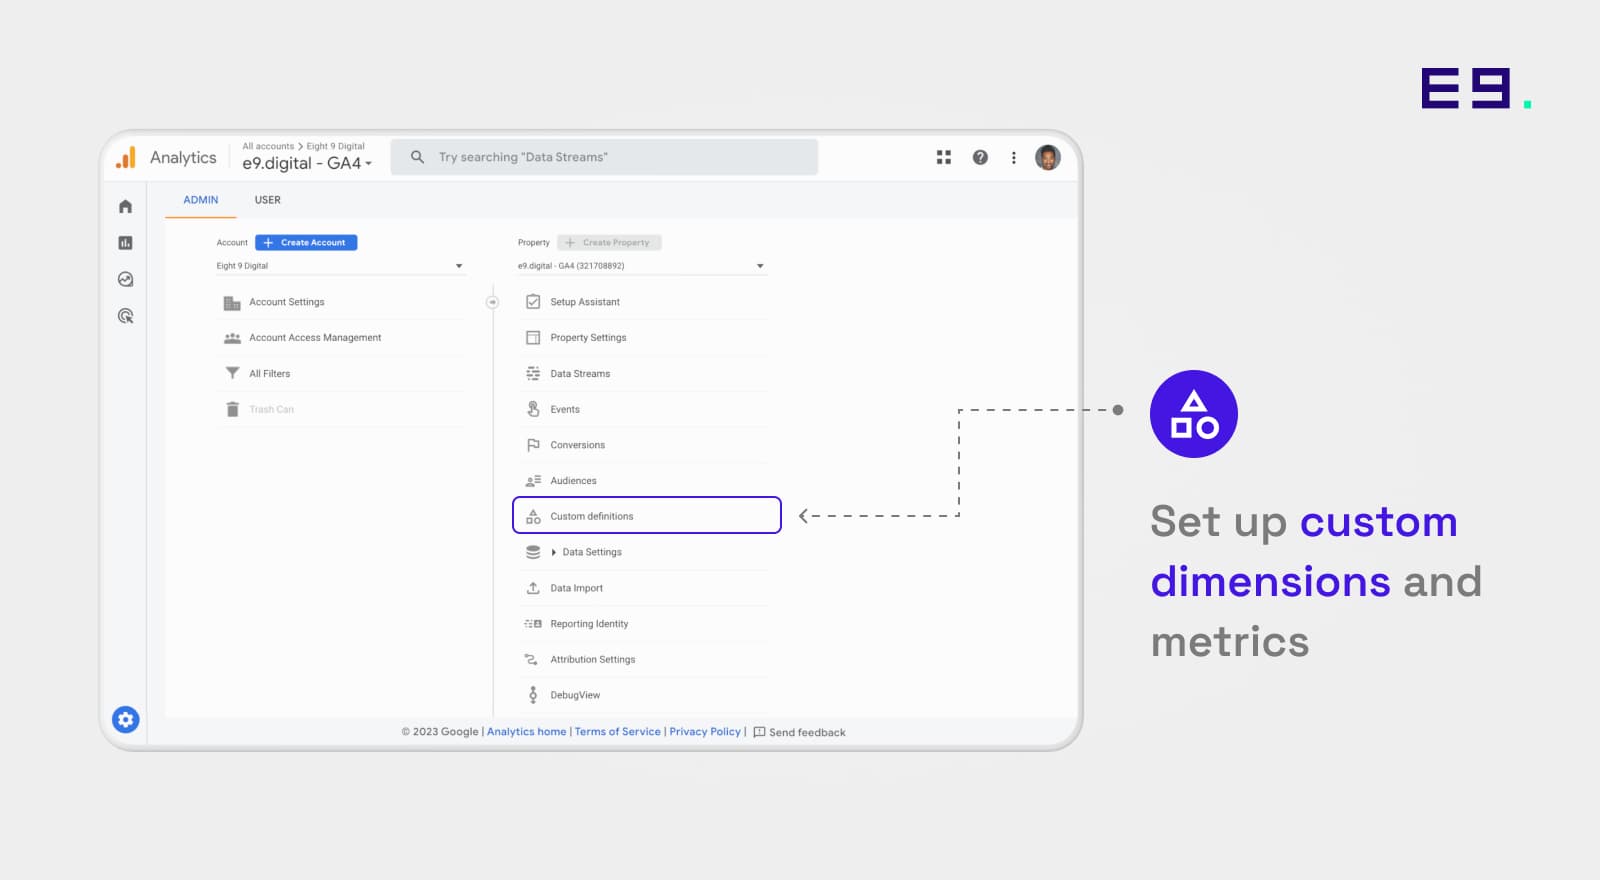
Set up custom dimensions and metrics
a. In your GA4 property, navigate to "Custom Definitions" under the "Configure" tab.
b. Set up custom dimensions and metrics to match your UA custom dimensions and metrics. Note that GA4 combines custom dimensions and metrics into a single "Custom Definitions" section, whereas UA had separate sections for each.
Familiarize yourself with GA4 reporting:
a. Explore the GA4 interface and reporting features, such as the "Analysis Hub," which offers advanced analysis tools like segment overlap, funnel analysis, and cohort analysis.
b. Review standard reports, including real-time data, user engagement, demographic reports,...
c. Get familiar with GA4's enhanced reporting capabilities, such as cross-platform tracking, predictive analytics, and advanced segmentation features.
d. Customize your reports and dashboards to ensure you have access to the data you need. You can create custom reports in the "Analysis Hub" and pin your favorite reports to the "Home" tab for easy access.
Monitor and compare data:
a. Run your UA and GA4 properties in parallel for some time to compare data and ensure accuracy. This will help you identify any discrepancies or missing data points.
b. Make sure to validate important metrics, such as sessions, users, page views, events, and conversions, to ensure that your GA4 setup is capturing data correctly.
c. Make adjustments to your GA4 setup as needed based on your comparisons. It's crucial to have accurate and consistent data before transitioning fully to GA4.
Transition to GA4:
a. Once you're confident in your GA4 setup and data accuracy, you can start to phase out your UA property. However, it's a good idea to keep both properties running for some time to ensure a smooth transition.
b. Gradually shift your focus and reporting efforts to GA4. Train your team on the new platform and encourage them to adopt GA4 for reporting and analysis.
c. Keep in mind that GA4 is the future of Google Analytics, and UA will eventually be deprecated. It's essential to be prepared and make the most of GA4's advanced features.
Additional considerations
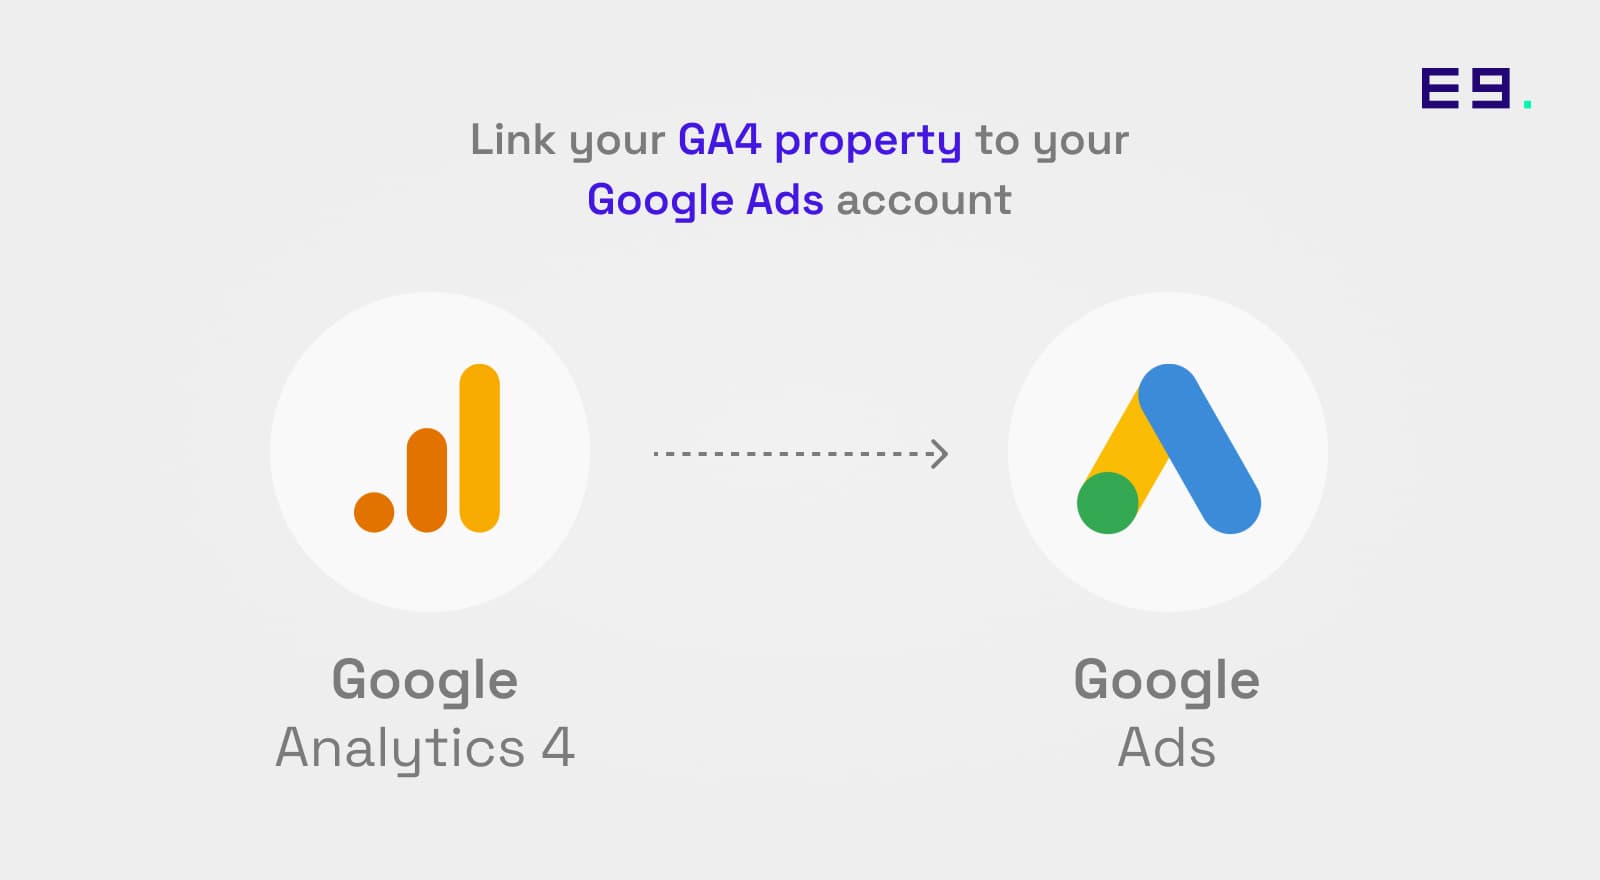
a. If you're using Google Ads, link your GA4 property to your Google Ads account to leverage GA4's advanced audience targeting and reporting features.
b. Review and update your website or app's privacy policy to ensure compliance with data collection and usage requirements in GA4.
c. If you rely on third-party tools or integrations, verify their compatibility with GA4 and update them as needed.
Migrating from UA to GA4 may seem challenging at first, but with careful planning and execution, you can successfully transition to the new platform. Take the time to understand GA4's features, configure your setup accurately, and train your team to leverage the advanced reporting and analysis capabilities of Google Analytics 4.
www.e9.digital - [email protected]
Shopify Development Service, E-commerce Solutions, Online Store Optimization | E9 Digital Agency
192 Tran Quang Khai, District 1
Ho Chi Minh city, Vietnam
More Topics

Small Business SEO: Boost Your Online Presence Traffic
In today’s digital landscape, small businesses face fierce competition. Building a strong online presence is crucial for success, and SEO is a key part of that. SEO helps improve your website's visibility on search engines like Google, making it easier for customers to find you.

How To Run a SEO Audit for Your Ecommerce Store
Boost Your Ecommerce Success: Mastering SEO Audits for Increased Visibility & Sales

Top Shopify Themes 2024
Explore the five best Shopify themes, including the versatile Dawn, to enhance your online store's appearance and functionality for an optimal shopping experience.
Let start your
project together
Tell us your idea and we will make it happen together.